Step-by-Step Guide to Enable Ad Blocker in UC Browser
Ads can ruin the browsing experience. They slow down page loading, drain data, and distract users from the content they want to read. If you’re a UC Browser user, you’ll be happy to know it comes with a built-in ad blocker. This tool removes annoying ads so you can enjoy clean, fast, and smooth internet browsing. In this guide, we will explain in simple steps how to enable the ad blocker in UC Browser and why it’s worth using.
What Is the Ad Blocker in UC Browser?
The ad blocker in UC Browser is a free feature that helps users avoid unwanted ads like pop-ups, banners, and autoplay videos. Unlike other browsers that require third-party extensions, UC Browser includes this function by default. Once activated, it quietly works in the background and blocks most ads without disturbing your browsing. It improves loading speed, keeps the interface clean, and makes your device run smoother.
Why Should You Use UC Browser’s Ad Blocker?
Using an ad blocker gives many advantages. It speeds up browsing because fewer elements need to load on the page. If you’re on mobile data, the ad blocker helps you save internet MBs by stopping ads from loading. It also reduces distractions, especially on content-heavy websites where ads cover the screen or play automatically. Most importantly, it protects your device from harmful ads that may lead to scam websites or install malware. These benefits make the ad blocker a must-use feature for UC Browser users.
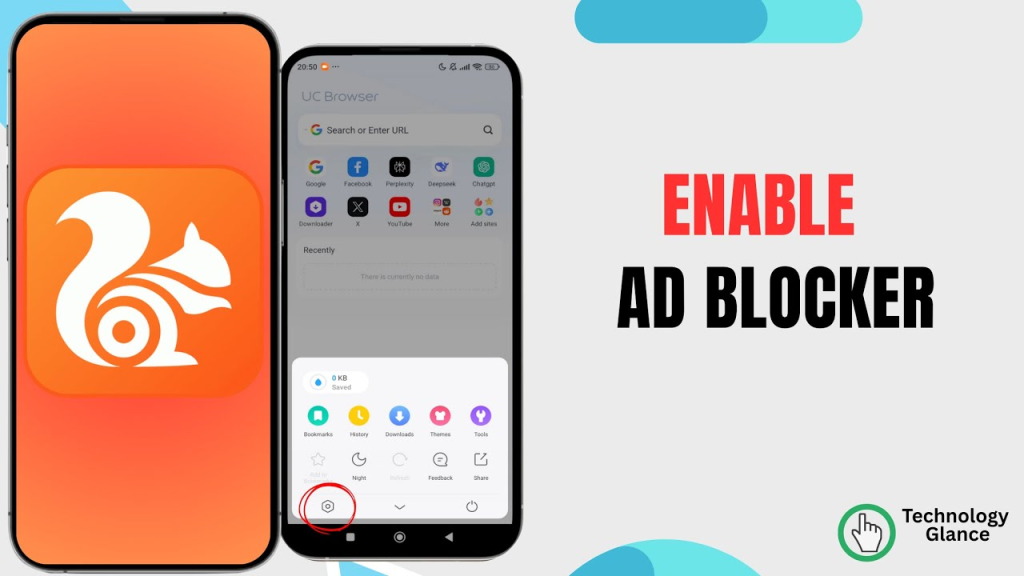
How to Enable Ad Blocker in UC Browser – Full Steps
Activating the ad blocker in UC Browser is very easy. Start by opening the browser. Tap the menu icon, usually found in the bottom or top corner of the screen, depending on your device. From there, go to the “Settings” section. Once inside Settings, scroll until you find “Ad Block” or “Ad Blocker.”
When you tap it, you’ll see a switch to turn the feature on. Simply toggle it to activate ad blocking. You don’t need to restart the app — it starts working immediately. If you’re using UC Browser on a Windows PC, the process is almost the same. Open the browser, go to the top-right menu, select Settings, and turn on the Ad Blocker option. That’s it — the ads will now be blocked automatically.
How to Customize the Ad Blocker
UC Browser allows you to control what kind of ads you want to block. After enabling the ad blocker, you can go deeper into its settings. Here, you can choose whether to block only pop-up ads, or also banner ads and video ads. Some users prefer to block all types, while others may keep certain ads visible to support websites they like.
There’s also an option called “Whitelist.” This allows you to allow ads on specific websites. For example, if there’s a blog or news site you visit regularly and want to support, you can whitelist it. Ads will continue to show only on that site, while being blocked everywhere else.
How to Confirm That It’s Working
You don’t need any tool to check if the ad blocker is working. Just visit a website that normally displays a lot of ads. A good example is a news website or a free movie streaming page. If you notice the page loads cleanly, without pop-ups or ad banners, it means the ad blocker is doing its job. In UC Browser settings, it even shows how many ads were blocked in real-time.
When to Turn Off Ad Blocker (Optional)
While blocking ads is helpful, sometimes it’s better to turn it off for certain websites. Some platforms may not load videos or content properly if ads are blocked. In such cases, simply go to the ad block settings and turn the feature off temporarily. You can always turn it back on later. UC Browser lets you do this with just one tap, making it easy to control your experience.
Ad Blocker on Android and PC – Same Experience
Whether you’re using UC Browser on Android, tablet, or Windows PC, the ad blocker works similarly. The layout might look slightly different depending on your device, but the option to turn it on or off is always available in the settings. On mobile, the menu is usually at the bottom. On desktop, it’s on the top-right. Regardless of the device, the feature is equally powerful.
How to Fix If Ad Blocker Doesn’t Work
Sometimes the ad blocker may not work as expected. If you’re still seeing ads after turning it on, don’t worry. The first thing to try is updating your browser. UC Browser often releases updates that improve its features, including the ad blocker. You should also clear your cache and restart the browser. In most cases, this fixes the issue. If the problem continues, uninstalling and reinstalling the browser can refresh everything.
Advantages of Built-in Ad Blocker in UC Browser
Using the built-in ad blocker gives many long-term advantages. Your internet experience becomes faster, especially on slower connections. You’ll notice that pages load quicker and smoother. Battery usage also reduces, because your device no longer needs to process heavy ads. Users also report fewer app crashes and smoother scrolling when the ad blocker is on. Most importantly, it provides better privacy by stopping ads that track your browsing behavior.
Important Tip for a Clean Browsing Experience
To get the best results from the ad blocker, make sure to use it along with other UC Browser features like data saver mode, video boost, and clear cache. These tools work together to improve performance. Try to clear browsing data every few days, especially if you visit many sites. This keeps the browser running fast and helps the ad blocker do its job without delay.
Is It Safe to Use?
Yes, the ad blocker in UC Browser is completely safe. It doesn’t collect your private data or interfere with your personal files. It simply blocks ad scripts from loading in the background. You don’t need to worry about privacy or any kind of data theft. However, be cautious about downloading third-party extensions or apps that promise extra ad-blocking features. UC Browser’s built-in option is more than enough for normal users.
Final Thoughts
If you want a clean, fast, and secure browsing experience, enabling the ad blocker in UC Browser is one of the best things you can do. It’s easy to turn on, doesn’t require any technical skill, and starts working immediately. You get more control over what you see online and avoid the distractions that come with modern websites filled with ads.
UC Browser has made it simple for users to enjoy ad-free browsing with just a few taps. Now that you know how to enable and customize the ad blocker, try it today and feel the difference yourself. Your internet experience will become more peaceful, and your phone will thank you too.